


Product Details
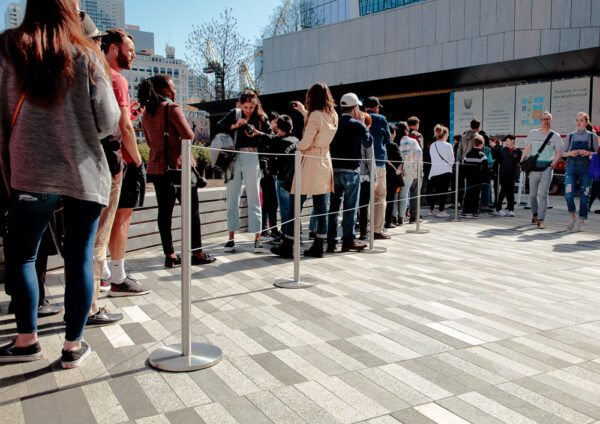
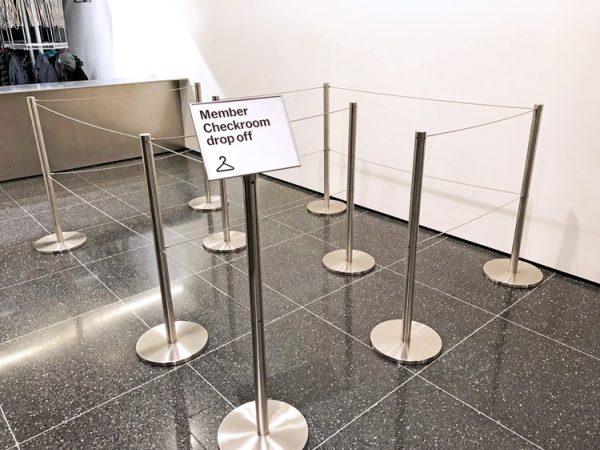
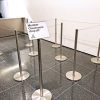
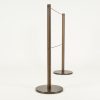
The Q-cord retractable stanchion system is the new definition of convenient architectural crowd control. Join the hundreds of distinguished locations around the world that are using the Q-cord to elegantly guide and distance their patrons.
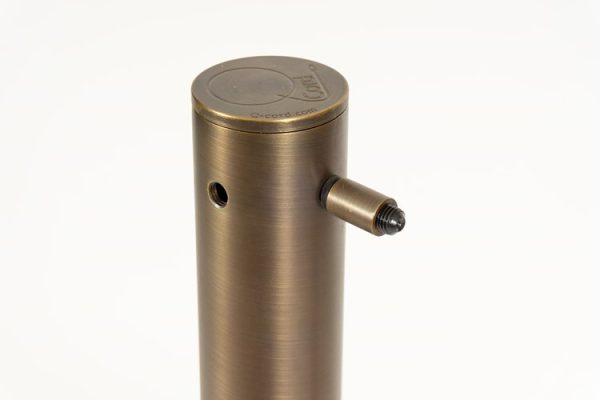
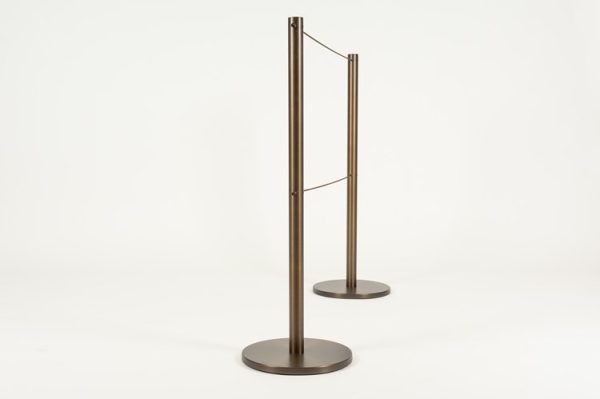
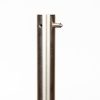
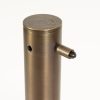
The Q-cord is a retractable crowd control barrier that comes with 7 feet of cord. The Q-cord is the smallest diameter retractable barrier in the world. It has a beautiful brushed stainless-steel exterior and is made in the USA with marine grade components. It is easy to set up and rearrange and is available freestanding, Screw fixed, Socket mounted, or with a Magnetic base.
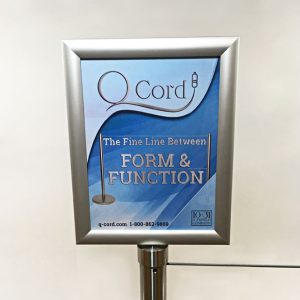
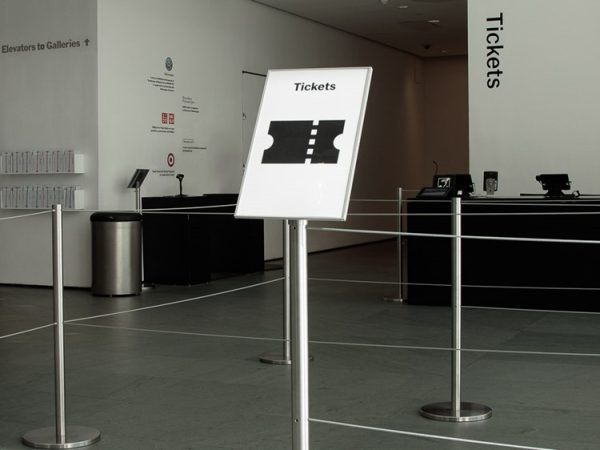
We have optional signage products available that are extremely useful for informing your guests. Use our signs to direct, socially distance, inform, and engage. Signage is available in a variety of sizes and must be used with a signage cap which comes in 60 degree or vertical configurations.
Add our QC-WTSS, Q-cord Wall Terminator, to your order to allow the barrier to end at a wall. This is particularly useful for closing off a hallway or creating an airgap from a wall to keep hands from touching things they should not be touching.
In response to our clients asking for an attractive solution for selective access control we have added the Quick release connector (QC-QRC). Use the Quick release connector anywhere a security guard or similar personnel will be frequently allowing selective access. The Quick release connector is only to be used in attended situations.
Q-Cord Retractable 39″ Barriers
From: $455.00
- Retractable - Standard with 7 feet of extension
- Architectural - Beautiful brushed stainless steel exterior
- ADA 2010 compliant - Designed to exceed requirements
- Convenient - Easy to set up and rearrange
- Durable - Marine grade components
- Quantity Break Discounts applied in cart.
- High Quality - Made in USA
- Signage Options
Additional Information
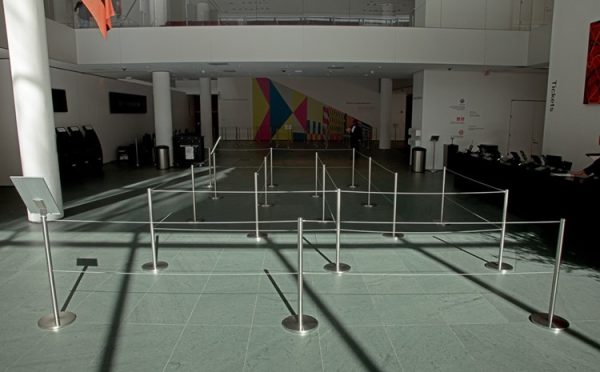
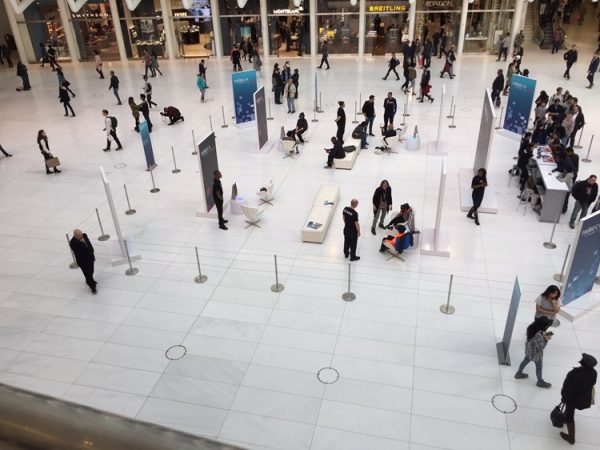
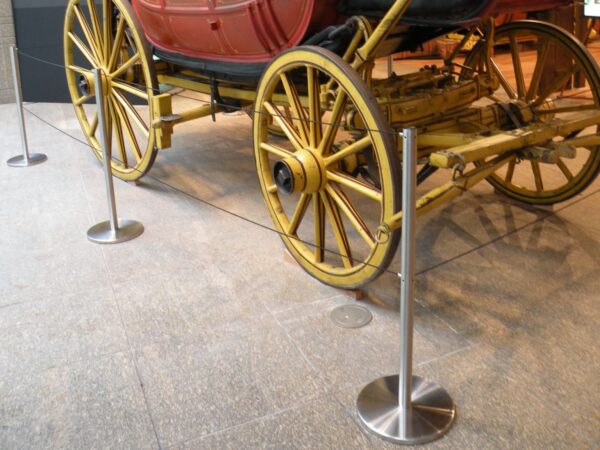
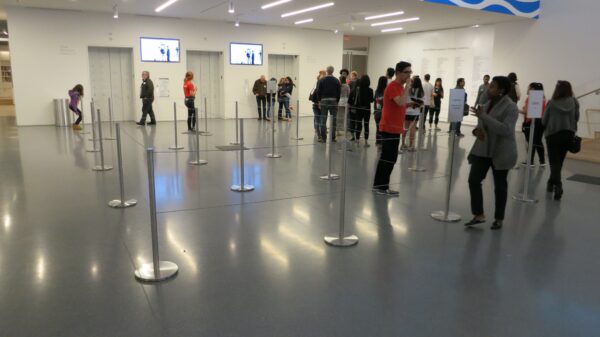
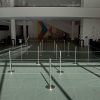
Museum Display and Queue Barriers
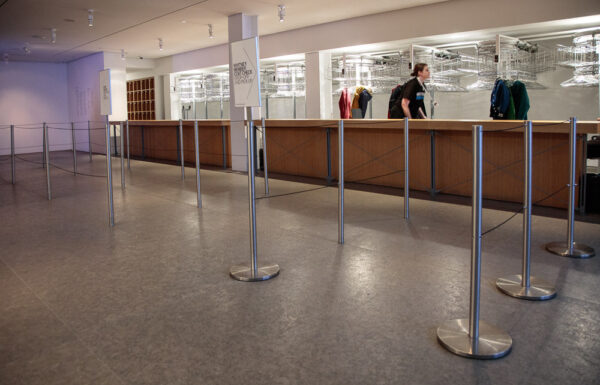
Museum barriers are typically used to queue and control visitors throughout a museum or institution. Taller barriers are usually used for crowd control in directing foot traffic in a particular path or direction. Shorter barriers can be used for surrounding items such as works of art to keep visitors from touching or getting too close. There are a number of barrier options that can be used, such as belts or ropes, but most museums prefer the more refined sophisticated approach of a straight cord. This gives a nice clean look that does not distract from the object being viewed.
Museum stanchions should also adhere to ADA (Americans with Disabilities Act) standards. The belt or cord on a typical barrier is too high. According to the ADA, the cord or belt must be cane detectable and located within 27 inches off of the finished floor or ground.
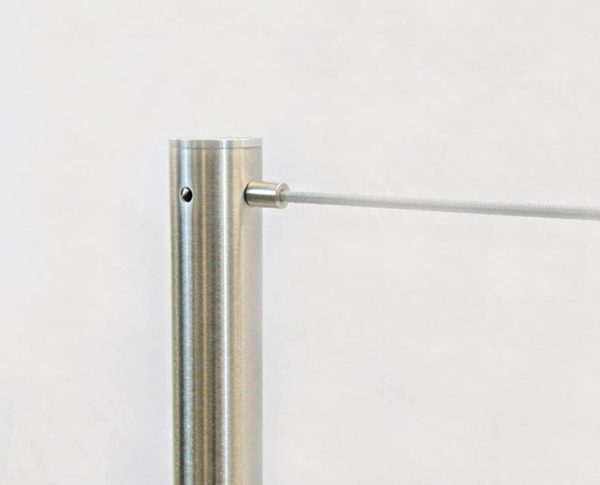
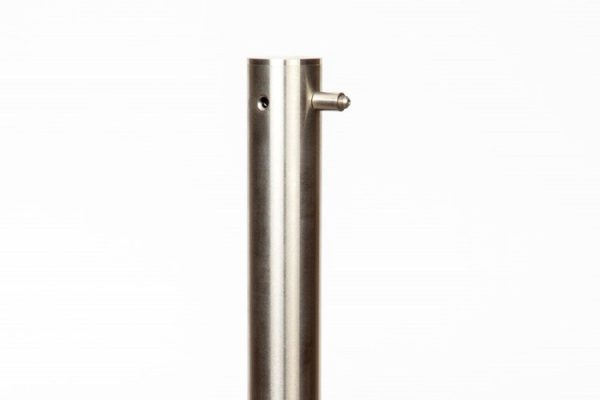
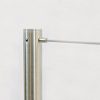
The new Q-Cord Retractable Barrier is made by 10-31 Inc., which is one meter(39.375″) high and has two retractable cords. The lower cord is half a meter(19.75”) off of the ground to be ADA compliant.
Freestanding
This barrier features a 22 lb. weighted 13″ base plate that can be moved around.
Stanchions are sold individually.
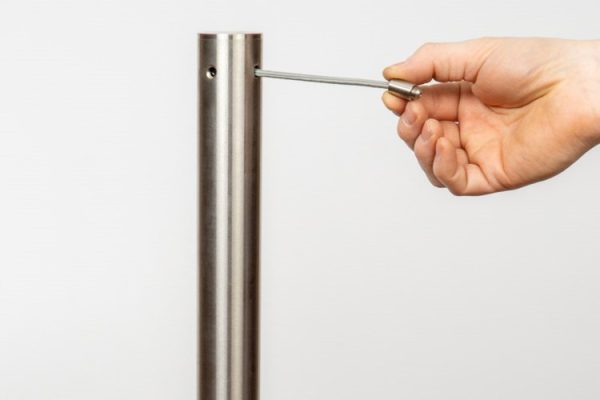
- Remove the protective film from the stainless steel cover.
- Assemble the barrier by placing the cover over the heavy black baseplate.
- Remove the bolt from the packaging, fit the washer onto the bolt and place it through the central hole of the base plate and cover and into the end of the upright. Tighten securely with the Allen Key provided.
- Place the barriers in position allowing up to 7 feet between each barrier.
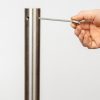
- When you have the desired layout, thread the terminal on the retractable cords into the adjacent barrier.
Surface Mounted
This barrier features a base plate that can be screw fixed to the floor. The screws are then concealed beneath the cover plate.
5″ diam. x .25″ base plate with .0625″ cover plate.
We recommend a maximum of 7 feet or 3 meters between these barriers.
INSTALLATION INSTRUCTIONS FOR SURFACE MOUNTED
Stanchions are sold individually.
Stanchions are supplied with an Allen key for assembly.
- Slide the cover plate on the bottom of the stanchion with the peel layer facing the cords/engraved cap.
- Screw the base plate to the end of the upright with the countersunk bolt placed through the central hole and tighten securely with the Allen key. The countersink for the six perimeter screw holes will be on the top surface of the base plate.
- Mark out the position of the barriers being careful to ensure that the cords on top are aligned, and screw into place using a #8 size screws or similar. Normal spacing between barriers is 7’.
Magnetic
This barrier features a 7” Magnetic base plate that can be removed but its location plate remains relatively permanent.
INSTALLATION INSTRUCTIONS FOR MAGNETIC
Stanchions are sold individually.
Note: The adhesive pad included with this product is industrial strength and once applied, cannot be moved or repositioned. Position carefully!
- Prepare the flooring: Smooth surfaces should be wiped clean with isopropyl alcohol. Porous surfaces (wood, particleboard, rough concrete, etc.) need to be sealed to provide a unified surface.
- Watch out for dirty surface (dust, oil, dirt, etc.), temperatures below 50 °F, moisture, and low surface energy materials (silicone paints, slippery plastics, etc.)
- Determine the queue configuration. Position all posts (without the magnetic plate) prior to applying the adhesive and mark the floor for each posts position with a removable mark.
- Remove the protective backing from the adhesive pad on the magnetic plate and place the exposed adhesive onto each spot that has been marked.
- Allow adhesive to cure for 24 hours without the post attached. Adhesive is pressure sensitive so press down firmly, briefly stand on plate, and if possible, apply weight during curing.
- After cure is complete, determine the cord direction, align base to receiver plate at an angle, and gently rock post into position.
Warning: This base contains a grouping of magnets who’s combined force exceeds 200 Lbs.
Masonry
This barrier features an inset floor socket that is permanent but allows for easy removal of the barrier posts.
Click Here for Optional Q-cord Socket Cap – Shop Q-Cord
INSTALLATION INSTRUCTIONS FOR MASONRY SOCKET
- Mark out the position of the sockets. Normal spacing is approx. 7 Feet between posts.
- Drill the holes in the floor surface using an appropriate Masonry bit to produce a clean hole approx.’ 2” dia. and at least 3” deep.
- Test Fit Sockets and shim as needed to level.
- This socket includes an additional bottom hole for use with an anchor to increase strength or for use with terrazzo floors. Cover this hole with strong tape when bedding into epoxy.
- Apply an appropriate epoxy resin into the bottom and sides of the bored hole and insert the socket, being sure to ‘bed it down’ by using small backwards and forwards rotational motions to assist the movement of the resin.
- If required carefully apply additional resin to any gap at the top of the socket to ensure that the finish is flush with the floor and clean off any excess resin that squeezes out.
- Insert Posts into the sockets and use a level to check that the post it is Plumb, and if necessary, support in this position while the resin cures.
ADA Specs
From 2010 ADA Standards for Accessible Design.
307 Protruding Objects.
307.1 General. Protruding objects shall comply with 307.
307.2 Protrusion Limits. Objects with leading edges more than 27 inches (685 mm) and not more than 80 inches (2030 mm) above the finish floor or ground shall protrude 4 inches (100 mm) maximum horizontally into the circulation path.
EXCEPTION: Handrails shall be permitted to protrude 4 1/2 inches (115 mm) maximum.
Advisory 307.2 Protrusion Limits. When a cane is used and the element is in the detectable range, it gives a person sufficient time to detect the element with the cane before there is body contact. Elements located on circulation paths, including operable elements, must comply with requirements for protruding objects. For example, awnings and their supporting structures cannot reduce the minimum required vertical clearance. Similarly, casement windows, when open, cannot encroach more than 4 inches (100 mm) into circulation paths above 27 inches (685 mm).